Showing posts with label Tips N' Tricks. Show all posts

Wednesday, April 24, 2013

Thrifty Shopping

Yesterday while out and about I took a detour and stopped at one of the local Thrift shops. I normally don't go to this one alone as its not in such a good area. Just freaks me out a bit. I stopped and I am so glad that I did.

My total stop cost me $10.58. I got 31 jars and 1 unopened box of lids and rings. I will be sure to stop in more often if they are going to sell the jars for so cheap. Even if I just pick up one or two they will add up for sure.


This was one of my best scores in a long time when it comes to jars. Tonight I'm sure all the jelly size jars will be filled up. As I have a few orders for jelly that I need to fill. 

Happy thrift shopping and canning everyone!!

~ Farm Girl


Pin It

Wednesday, November 14, 2012

Hamburger Stroganoff

One of the things that makes me super happy is finding base recipes that I can play around with. So this is the second recipe using the SOS mix. You can find the original recipe in the booklet Soup or Sauce SOS Mix put out by the Utah State University extension office which is located here.
Knowing my families tastes there is no way I could of put this on the table without tweaking it. My goal was for a creamier sauce with a little more flavor. I thought it was great without the extras added in the sauce but I'm just one of those people that has a hard time not tweaking. 


1 pound lean ground beef or turkey
3 cups water
1/3 cup SOS Mix
2-4 shakes Worcestershire sauce
2 cloves of garlic, minced
1/2 teaspoon paprika
1 small onion, diced
8 oz. fresh mushrooms, sliced
12 oz bag wheat egg noodles (or any you prefer)
1/2 cup low-fat sour cream
8 oz low-fat cream cheese, softened (optional)

Directions:
In a skillet, brown meat, when nearly done add onion, mushrooms and minced garlic. Continue cooking til onions are translucent.

In the meantime, boil egg noodles according to package directions. Drain and have ready.

In a small sauce pan, whisk together SOS mix and 3 cups of water. Cook until desired thickness. You may need to adjust SOS mix to achieve desired thickness. Whisk in paprika, Worcestershire sauce, softened cream cheese (optional) and sour cream.

Mix meat mixture, cooked noodles and SOS mixture together. Spread into 9x13x2 in baking dish. Cover with foil and cook in preheated 350 degree oven for 35 to 40 minutes. Yeilds: 6 servings

~ Farm Girl

Pin It

Tuesday, November 13, 2012

Au Gratin Potatoes


Ingredients:
1/2 cup SOS Mix
1 3/4 cups water
1 cup lowfat sour cream
4 medium potatoes
1/4 cup chopped green onions (optional)
1/2 cup chopped fresh mushrooms (optional)
1/2 cup cheese, grated (optional)

Directions:
Combine SOS Mix (you can find the recipe for the mix here) and water in a small sauce pan and cook and stir until thick. (Optional - 1 cup lowfat sour cream can be stirred into the sauce before it is added to the potatoes.) Thinly slice the potatoes and layer half in a 2 quart oven safe baking dish. Pour half of the sauce over the potatoes, half of the green onions, mushrooms and cheese. Layer the rest of the potatoes on top. Add the remaining of the sauce, onion, mushrooms, and cheese.

Cover and baked at 350 degrees for 20 minutes. Uncover and continue baking for an additional 55 minutes or until potatoes are soft.

Yield: 8 Servings

Finally, I got those scalloped potatoes I have been craving for so long and they were so yummy. I'm very thankful for the internet and for the other bloggers out there to help people just like me.

~ Farm GirlPin It

Monday, October 29, 2012

Pressure Pot Cooking: Tender Lemon Chicken

Ever have one of those days where you had all the time in the world and still didn't lay anything out for dinner? Yup, I had one of those days today. Trying to prepare for this big ole hurricane/super storm "Sandy."

I finally got some chicken breast out of the freezer and it was already after 4 o'clock and by five the power had started flickering. I had to get my ducks in a row and get dinner started before the power thinks about going out for good. Only thing I could think of was lemon chicken that I make in the pressure pot. I've only made it a few times and we like it a lot.

Have you ever cooked a full meal in a pressure pot? I have to be frank with you, I had never thought of making a meal in this pot that I've also had for a very long time. I've also had this recipe for oh, say 12 years (July/August 2000) and only recently started making it. I have had it marked in the magazine but never made it as I was very skeptical about it.
4 quart pressure cooker
Quick Cooking July/August 2000
 Well used magazine its even missing its cover.
I had only seen my mother-in-law precook meats in a pressure cooker. Never had I ever seen anyone cook to completion in one. My mom gifted me a pressure cooker many years ago and so had my mother-in-law. I had just used the pan to cook in with out the lid in the past and on several occasions made ribs and finished them in the oven. Any how, before I get side tracked tonight we had Tender Lemon Chicken and the recipe follows.

TENDER LEMON CHICKEN

1 medium onion, chopped
4 garlic cloves, minced
1 to 3 tablespoons olive or vegetable oil
4 bone-in or boneless chicken breast halves, skin removed
1 cup chicken broth
1/4 cup water
1/4 cup lemon juice
3/4 cup minced fresh parsley ( I used 1 tsp dried parsley)
1/2 cup chopped celery with leaves
1 1/2 teaspoons Italian seasoning
1/2 teaspoon salt, optional
1/4 teaspoon pepper
4 1/2 teaspoons cornstarch
3 tablespoons cold water

In a pressure cooker, saute onion and garlic in oil until tender; remove with a slotted spoon and set aside. Brown the chicken, a few pieces at a time, in the cooker. Remove chicken, and place cooking rack in bottom of pan. Return chicken and onion mixture to pan. Add broth, water, lemon juice, parsley, celery, Italian seasoning, salt if desired and pepper.

Place lid on pan and secure it down;  place pressure regulator on vent pipe. Bring cooker to full pressure over high heat. When it begins to jiggle reduce heat to medium-high and cook for 8 minutes. (Pressure regulator should maintain a slow steady rocking motion; adjust heat if needed.)

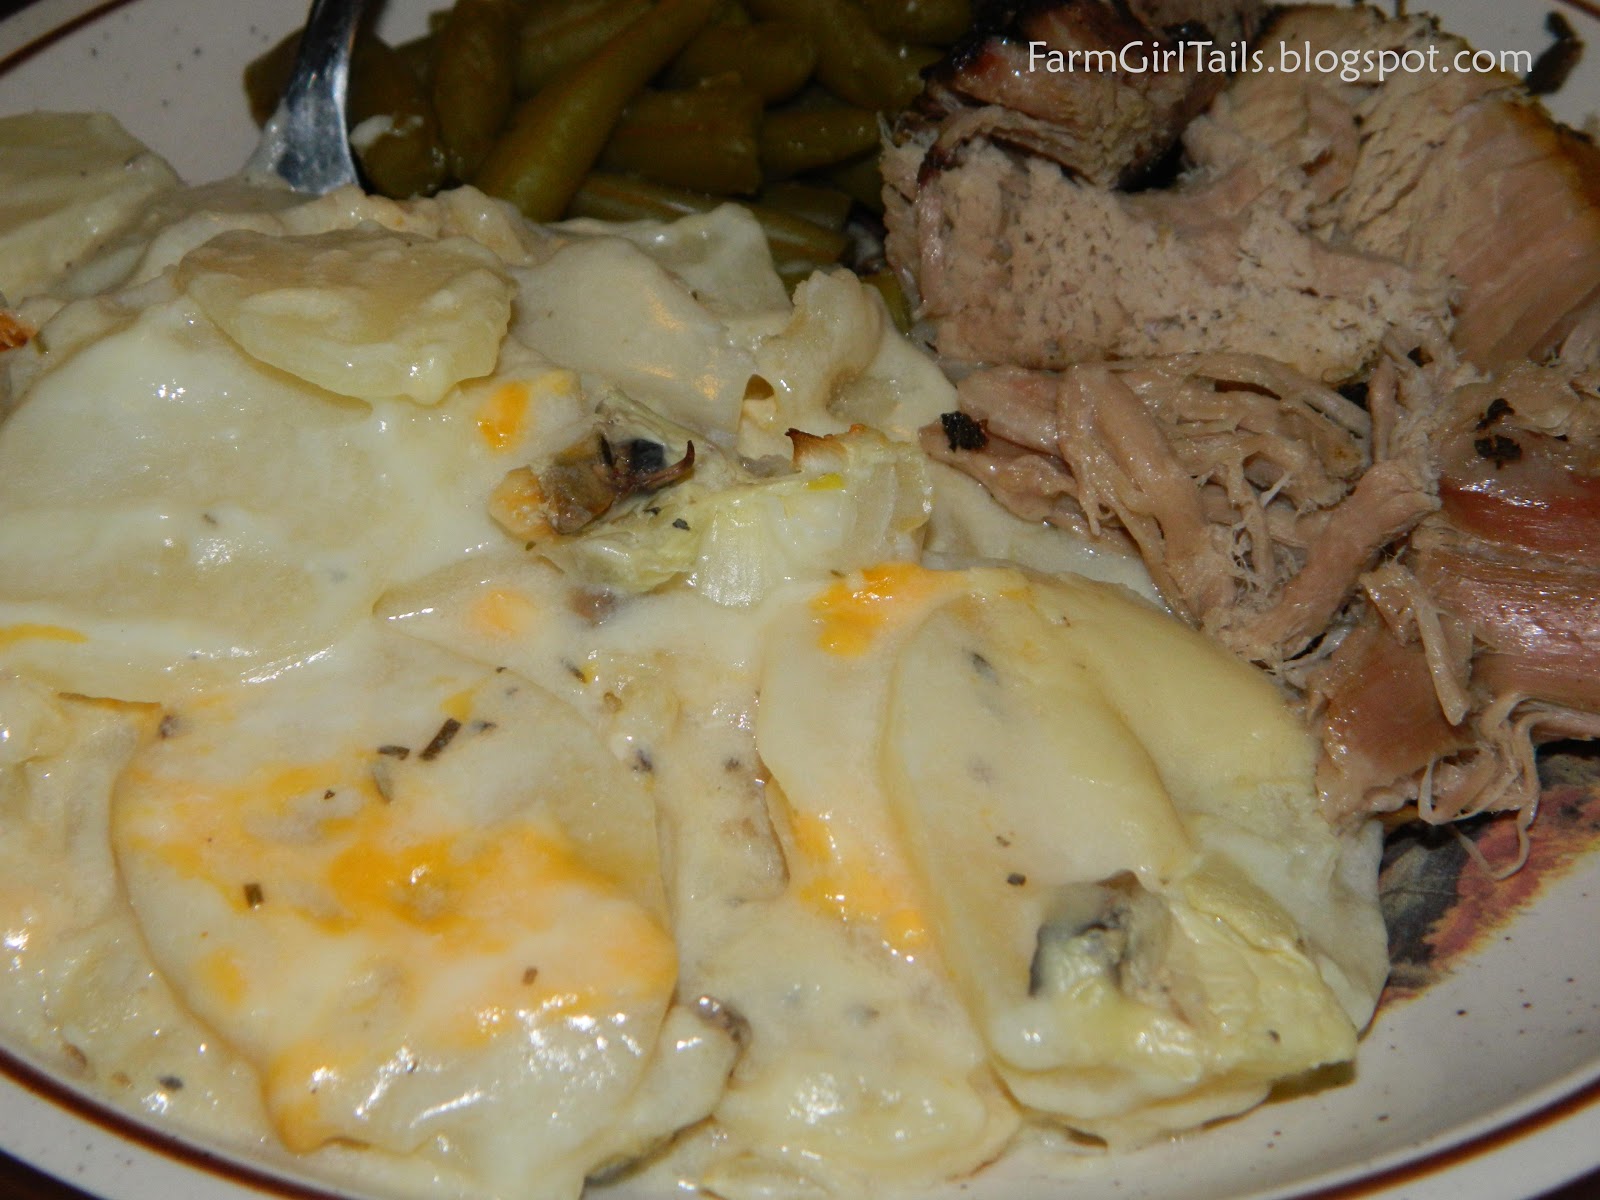
It does not look all that appealing; as I was in a hurry this evening.
Immediately cool according to manufactures directions until pressure is completely reduced. Remove chicken and keep warm. Remove cooking rack. Cooking juices in bottom of the pan should be approximately 1 1/2 cups. Combine cornstarch and cold water until smooth; stir into pan juices. Bring to a boil; cook and stir for 2 minutes or until thickened. Serve over chicken.
Moist and delicious chicken dish made in just minutes. 

Yield: 4 servings

*Note: If you are pressed for time and your  boneless chicken is not fully thawed like mine was today. I added extra a tad bit of extra liquid to the pan and increased cook time 16 to 20 minutes. It turned out perfect.

You should give this a try I think you will like it.

~ Farm GirlPin It

Thursday, October 11, 2012

Freezer Home fries

I'm totally in love with the idea of OAMC (Once A Month Cooking). I have done some reading up on this for a few years now. I've tried many recipes but I have never made enough meals to make it through a month. I have however used the concept of buying in bulk and dividing it out for many meals.

These home fries I'm about to take you step by step through are so simple and you'll want to thank me many times for passing this on to you. As it will cut making breakfast time in half.
Freezer Home fries

5 lbs of potatoes (white or sweet)
oil (olive or vegetable)
seasoned salt, to taste

First peel and cut potatoes into 1/4 inch to 1/2 inch chunks. Put them in a bowl of cold water to keep them from turning brown.

Work in small batches. Drain and dry the cut potatoes on a large towel.
Drying potatoes on a large towel
Put dry potatoes in large bowl. Add a splash of oil and seasoning, mix well to coat.

Spread on a cookie sheet in a single layer. Do not over crowd your pan.

Bake in a 450 degree Fahrenheit oven for 15 to 20 minutes, until tender.

Remove from oven and let cool at room temperature. If doing more than one batch of potatoes I put them out on freezer or wax paper to cool. Reuse baking pan several times.

When cool, divide potatoes out into meal size portions or put in gallon freezer bag. Put in freezer and every hour or two shake the bag to break them up a tad bit. You don't want them to freeze in a solid lump.

To use add frozen potatoes to preheated lightly oiled skillet. Cook until browned and heated threw. You may choose to defrost in microwave before cooking. Either way works great.

Enjoy
~ Farm girlPin It

Friday, October 5, 2012

Canning: Chuckwagon Chili

I don't know if many of you know but I've been canning for years and years with mom and granny. But, it wasn't till 7 years ago that I started canning on my own with a long break in between canning with family as I had moved away from home and started a life of my own. It wasn't till I moved back closer to my roots that I began raising a garden and gaining the much needed equipment needed to can. So anyhow, for the past six years its been strictly the basics vegetables, juices and some sauces like spaghetti and salsa.

This year I did my research, I have consulted youtube videos, my BBB (Ball Blue Book) and friends I have made on several FB groups. That I finally decided its time for meals in a jar such as chili. This will certainly give me a leg up on my DH's lunches, snow days with the kids and a quick meal if we need it on those busy nights.

Here we go!

Chuckwagon Chili
Makes 8 Quarts

6 cups dried beans – (2 cups each of Red kidney beans, pinto beans and small red beans)
11 cups water
7 tsp. kosher salt divided (4 tsp. for salting beans when they cook and 3 tsp. salt for chili)
5 lbs. of ground beef
3 cups onion, chopped
2 cups red bell peppers, chopped
6 tbs. chili powder
2 tbs. cumin
2 tsp. black pepper
3 tsp. garlic, minced
2 tsp. oregano
2 tsp. cayenne pepper
2 tsp. coriander (optional)
1 tsp. crushed red pepper
2 quarts tomato juice
24 oz. of Salsa (Your favorite will do)
29 oz. tomato sauce
16 oz. beef stock
Washed beans

Wash beans thoroughly and put them in a large pot. Add cold water to a level of 2 to 3 inches above the beans and soak for 12 to 18 hours. Drain and discard water.
Soaked beans
Combine beans with 11 cups of fresh water and 4 tsp. kosher salt. Bring to a boil, reduce and cook for 30 minutes.

Meanwhile, brown ground beef, onions and peppers in a large skillet.
Drain off fat by spooning in a large colander in the sink. Shake out the excess fat. (The next two photos are of everything that went into the chili)
Everything that went into the chili

Pour meat into large pot and add 3 tsp. salt, pepper, chili powder, cumin, garlic, oregano, cayenne pepper, coriander, crushed red pepper, tomato juice, salsa, tomato sauce, and beef stock. Drain beans after 30 minutes and add to meat mixture. Simmer chili for 45 minutes or until desired doness.

Using sterilized jars fill leaving 1 inch head space.


Remove air bubbles and adjust head space if needed. Wipe rims of jars with dampened clean paper towel.

Process at 10 lbs. of pressure 75 minutes for pints or 90 minutes for quarts.
Chuckwagon chili
This is how it looks after it cooled, the next day.
Happy Canning!
~ FarmgirlPin It

Thursday, October 4, 2012

Hickory Smoked Salt

It has come to my attention that not everyone can find hickory smoked salt at the grocery store. I posted the recipe for my Ham and Bean Soup two days ago that has it as one of the ingredients and some have been asking about hickory smoked salt where to find it. So if you can't find any or just want to make it yourself here is my how to.

Hickory Smoke Salt
makes 1/2 cup 

1/2 cup sea salt (iodine free)
1 tablespoon of liquid smoke


Only ingredients you will need.

Mix salt and liquid smoke together. Add more sea salt or liquid smoke to resemble a wet brown sugar mixture.

 
Spread mixture out over a cookie sheet.

Allow to dry at room temperature or on a lowest setting in the oven. 150 degrees is the lowest setting for my oven. It only took about 30 minutes to dry.
Stir and rub salt mixture between fingers to break up often. If made on the aluminum foil you can just pull it up and sort of crumble it. Works great.
Room temperature salt is ready by the next day. Salt dried in the oven is ready in a few hours.
Store in an air tight container.
Final product Hickory smoked salt

Note: I only had course sea salt on hand. Which I used and I'm going to put it in the sea salt grinder which is in the picture. Remember you can make as much or as little of this that you like. The measurements I used can be reduced or doubled easily.

~ Farmgirl


Pin It

Tuesday, October 2, 2012

Budget: Tavern Ham

Budget: Tavern Ham

Recently I was at the grocery store and noticed that they had tavern hams on sale for $2.48 a pound. Pretty good price for around here. While pondering what all I could make of this ham the recipes were screaming at me. So I scooped one up and brought it home. When home this is when the real work begins.
 
This tavern ham weights 15.66 lbs @ $2.48 per lb for a total of $38.84. No food tax in the state of Ohio where I purchased it at.


I decided to slice up most of it. I had to borrow the slicer from my mother-in-law, as I don't have one of my own yet.
 
Because this slicer is smaller approx a 7.5 inch blade. I had to cut the ham into sections for easier sliceing.
 
Then it was time to run it on the slicer. I wish that I had someone here helping me to take pictures. But, I was on my own! Why does this not surprise me? Anyhow, this is most of the ham.


Make sure that you have plenty of freezer safe bags. A good sharpie to date your packages. This is how I divided mine up. 

 
What I got was 9 quart bags of sliced ham, 3 quart bags of chopped ham, 1 plate of scraps for the animals and 1 bowl for soup. You can obviously divide it up in many different ways. I should have kept a small section ham for baking it would of been good but I forgot to do that.
 
The kitties with their snack.
With the ham in the bowl I decided to turn it into soup. Which I canned. You can find that recipe posted yesterday.
7 quarts of Ham and bean soup made with great northern beans
 
7 more quarts of Ham and bean soup made with navy beans
 
So how does this play out for budgeting do you ask? Well 27 full meals from a 15.66 lb ham for a total cost per meal of $1.43. Now that's savings!  
 
If you purchase a ham let me know how you divide yours up for a savings. I'll be posting more budget meals that I use the ham in in the near future.
 
~ Farmgirl

Pin It

Monday, October 1, 2012

Canning Navy Bean and Ham Soup

I'm still stocking my shelves for winter. I want some easy soups for my husbands lunches or a quick meal when we are running on borrowed time. I have finally figured out a way to successfully can bean soup without everything turning to mush. Thanks to a simple recipe of "Ben's Beans."

Here's my recipe:

Navy Bean Soup
2 lbs dry navy beans, rinsed
half of small onion diced
1-2 medium carrots diced
1 stalk of celery diced
1 cup of diced ham
chicken bouillon, powder
hickory smoked salt
water
7 quart jars, lids and rings

I prep my jars first by washing them and get my lids and rings in hot water. After this I cut up my vegetables and ham. Lastly, I sort my beans, wash with cold water and let drain well.

Then in no particular order I add the following in each quart jar:
3/4 cup dry navy beans (do not soak beans), rinsed
1 Tbsp onion, diced
3 Tbsp chopped ham
1 Tbsp carrot, diced
1 Tbsp celery, diced
1/4 tsp hickory smoked salt (any seasoned or plain salt will work or omit)
2 tsp chicken bouillon, powder


After this I add water to fill to the 1 inch head space. Wipe rim of jar with clean cloth. Affix lid and ring and place in pressure canner.

Process for 90 minutes at 10 lbs of pressure.
The beans in these jars are great northern beans. Any kind of beans will do.


If you choose to reduce to pints you would need to reduce everything by half and process 75 minutes at 10 lbs pressure.

If you make ham and bean soup let me know of any changes you made to the recipe. It's always nice having several different versions of bean soup.

~ Farm girl


Pin It

Wednesday, July 25, 2012

Processing Tomatoes (picture heavy)

Slow garden? Having the same problem as I am, with the small amounts of vegetables come on in the garden and not enough to make a batch of spaghetti sauce or salsa to can? I have a solution to this minor problem. My solution is to process those small batches of vegetables and freeze till you collect enough to make that special sauce.

Before you actually begin working with the tomatoes you will need to gather some equipment to get started.

Equipment Needed
Large pot: to boil water
Large bowl:  for ice water
Large bowl:  for shocked tomatoes
Large slop bowl: to discard skins and cores
Paring knife
Large freezer container
Measuring cup
Food processor
Slotted spoon


Lay out equipment in a similar order. I don't have much counter space so this is how I lay out the scald/shock process. Then after I get all tomatoes through this I move to the kitchen table to clean and core them. If you have counter space beside your stove you might want to put the ice water on the right side of the boiling water then your bowl for already processed tomatoes beside that. Making an assembly line.

Once you have gathered and laid out the equipment as described you can begin processing the tomatoes as follows:
1. Wash The Tomatoes: Thoroughly wash all tomatoes. I like to use a wash clothe and cool water.

2. Cut slit in each tomato: Small slit on blossom end will work fine. I use a serrated knife such as an old steak knife. You don't have to cut deep just enough to get through the skin.

3. Briefly scald the tomatoes in boiling hot water. Heat water to boiling and add cut tomatoes in small batches of 4 to 6 tomatoes. Leave tomatoes in water from 30 seconds to 90 seconds. Judging how long you must leave the tomatoes in the hot water is kind of an art. You will quickly learn how long to leave them. It all depends on size and ripeness. You must remember you are scalding them not cooking them.

4. Transfer tomatoes to ice water. Remove tomatoes with slotted spoon to ice water. Leave tomatoes in water till they are cool to the touch approx a 60 to 90 seconds. This process loosens the skins of the tomatoes which makes for easy peeling.

Then transfer to second bowl.
 You want to see the cracking of the skins, but not all tomatoes do crack which is okay.

5. Remove skins and cores: Throw the skins, cores, bad spots and any hard places in tomatoes where the core is located in the slop bowl.


At this point you should have a bowl of peeled tomatoes. 


6. Decision time for your peeled tomatoes.  For myself I'm making salsa at this point. So I need my tomatoes chopped. I do this by putting them threw the food processor. I pulse them a few times and they are chopped enough.


I'm at the point in my garden where I don't have enough of everything to make a batch of salsa. So I'm measuring the fresh garden ingredients and putting them in freezer containers until I get what I need. The next few pictures are of the measured ingredients ready for the freezer.

 Finally, make sure you keep track of what and how much ingredients you have in your containers. I keep a running tally on the side of the freezer for each container. When I have enough I will thaw container by allowing it to sit on table till I can get the tomatoes to break up some. Then add to stock pot with added spices for recipe and continue the process for cooking down and canning.

This is the way I do it and it works for me. Please let me know how you manage your garden fresh vegetables for canning when you don't have quite enough.

~ Farmgirl

Pin It