Wednesday, July 25, 2012

Processing Tomatoes (picture heavy)

Slow garden? Having the same problem as I am, with the small amounts of vegetables come on in the garden and not enough to make a batch of spaghetti sauce or salsa to can? I have a solution to this minor problem. My solution is to process those small batches of vegetables and freeze till you collect enough to make that special sauce.

Before you actually begin working with the tomatoes you will need to gather some equipment to get started.

Equipment Needed
Large pot: to boil water
Large bowl:  for ice water
Large bowl:  for shocked tomatoes
Large slop bowl: to discard skins and cores
Paring knife
Large freezer container
Measuring cup
Food processor
Slotted spoon


Lay out equipment in a similar order. I don't have much counter space so this is how I lay out the scald/shock process. Then after I get all tomatoes through this I move to the kitchen table to clean and core them. If you have counter space beside your stove you might want to put the ice water on the right side of the boiling water then your bowl for already processed tomatoes beside that. Making an assembly line.

Once you have gathered and laid out the equipment as described you can begin processing the tomatoes as follows:
1. Wash The Tomatoes: Thoroughly wash all tomatoes. I like to use a wash clothe and cool water.

2. Cut slit in each tomato: Small slit on blossom end will work fine. I use a serrated knife such as an old steak knife. You don't have to cut deep just enough to get through the skin.

3. Briefly scald the tomatoes in boiling hot water. Heat water to boiling and add cut tomatoes in small batches of 4 to 6 tomatoes. Leave tomatoes in water from 30 seconds to 90 seconds. Judging how long you must leave the tomatoes in the hot water is kind of an art. You will quickly learn how long to leave them. It all depends on size and ripeness. You must remember you are scalding them not cooking them.

4. Transfer tomatoes to ice water. Remove tomatoes with slotted spoon to ice water. Leave tomatoes in water till they are cool to the touch approx a 60 to 90 seconds. This process loosens the skins of the tomatoes which makes for easy peeling.

Then transfer to second bowl.
 You want to see the cracking of the skins, but not all tomatoes do crack which is okay.

5. Remove skins and cores: Throw the skins, cores, bad spots and any hard places in tomatoes where the core is located in the slop bowl.


At this point you should have a bowl of peeled tomatoes. 


6. Decision time for your peeled tomatoes.  For myself I'm making salsa at this point. So I need my tomatoes chopped. I do this by putting them threw the food processor. I pulse them a few times and they are chopped enough.


I'm at the point in my garden where I don't have enough of everything to make a batch of salsa. So I'm measuring the fresh garden ingredients and putting them in freezer containers until I get what I need. The next few pictures are of the measured ingredients ready for the freezer.

 Finally, make sure you keep track of what and how much ingredients you have in your containers. I keep a running tally on the side of the freezer for each container. When I have enough I will thaw container by allowing it to sit on table till I can get the tomatoes to break up some. Then add to stock pot with added spices for recipe and continue the process for cooking down and canning.

This is the way I do it and it works for me. Please let me know how you manage your garden fresh vegetables for canning when you don't have quite enough.

~ Farmgirl

Pin It

Thursday, July 5, 2012

Summer Heat

This was the view after our first set of storms that took out
our power and several dozen trees here on the farm.
We've had some very weird weather here lately. Extreme heat in the triple digits to very cool nights. We are currently without power and have been for 6 days now. It's not very promising that we will have it on before the weekend. They are saying maybe Sunday late evening. We've had a lot of heart ache due to the heat and loosing some bunnies.

I'll be updating the blog in the near future. Look for some new recipes to come soon.

~ FarmgirlPin It

Tuesday, June 26, 2012

Lemon Blueberry-Strawberry Yogurt Loaf


Makes 1 loaf
1 1/2 cups + 1 tablespoon all-purpose flour, divided
2 teaspoons baking powder
1/2 teaspoon kosher salt
1- 6oz Strawberry Yogurt
1- 6oz Blueberry Yogurt
1 cup sugar
3 large eggs
2 teaspoons grated lemon zest
1/2 teaspoon pure vanilla extract
1/2 cup vegetable oil
1 1/2 cups blueberries, fresh or frozen, thawed and rinsed

For the Syrup:
1/4 cup fresh squeezed lemon juice
1/4 cup sugar

For the glaze:
1/2 cup confectioners sugar, sifted
1 to 2 tablespoons fresh lemon juice

Directions:
Preheat the oven to 350 degrees F. Grease bottom and sides of one 9x5 inch loaf pan; dust with flour; tapping out excess.

In a medium bowl, sift together flour, baking powder and salt; set aside.

In a large bowl, whisk together yogurts, sugar, eggs, lemon zest, vanilla and oil. Slowly whisk the dry ingredients into the wet ingredients. In a separate bowl mix the blue berries with the remaining tablespoon of flour, and fold them very gently into the batter.

Pour the batter into the prepared pan and bake 50 to 55 minutes; or until a toothpick inserted in the center of the loaf comes out clean. Let cool in the pans for 10 minutes before removing loaf to a wire rack on top of a baking sheet.

While the loaf is cooling, make lemon syrup in a small sauce pan over medium heat. Stir together the lemon juice and sugar until the sugar is completely dissolved. Once dissolved, continue to cook for 3 more minutes. Remove from the heat; set aside.

Use a toothpick to poke holes in the top and and sides of the warm loaf. Brush the top and sides of the loaf with lemon syrup. Let the syrup soak into the cake and brush again. Let cake cool completely.

To make the lemon glaze, in a small bowl, whisk together confectioners' sugar and 1-2 tablespoons of lemon juice. Mixture should be thick but pourable. Pour the lemon glaze over loaf and let it drip down the sides. Let glaze set up before serving.

Pin It

Friday, June 15, 2012

Steak Pot Pie


Steak Pot Pie
1 cup chopped onion
2 tablespoons margarine
3 tablespoons all-purpose flour
1 1/2 cups beef broth
1/2 cup A.1. Steak Sauce
3 cups cubed cooked steak (about 1 1/2 pounds)
1 (16 ounce) package of frozen broccoli, cauliflower and carrot mixture
Prepared pastry for 1-crust pie
1 egg, beaten

In 2 quart sauce pan, over medium high heat, cook onion in margarine until tender. Blend in flour; cook 1 minute more. Add broth and steak sauce; cook and stir until mixture thickens and begins to boil. Stir in steak and vegetables. Spoon mixture into 8inch square glass baking dish. Roll out and cut pastry crust to fit over dish. Seal crust to edge of dish; brush with egg. Slit top to vent. Bake at 400 degrees 25 minutes or until crust is golden brown. Serve immediately. Garnish as desired.

~ Notes: I cooked the meat in a pressure pot to make meat tender. Cooked 25 minutes. Vegetables: celery, broccoli, cauliflower and carrots were fresh not frozen. Lastly pie crust was homemade. I doubled crust and vegetables and made a little extra sauce to fill a 13x9x2 inch baking dish.

Makes 4 servings


Recipe from A.1. Steak Sauce Sizzling Favorites (Favorite Brand Name Recipes) July 1996Pin It

Tuesday, June 12, 2012

Hamburger - Frankfurter Bake

Hamburger - Frankfurter Bake

12 slices of bread
Butter or margarine
1 lb. LEAN ground beef
1/4 cup ketchup
1 tsp. salt
6 frankfurters
2 medium onions sliced
6 slices process American Cheese
2 eggs, beaten
1 cup milk

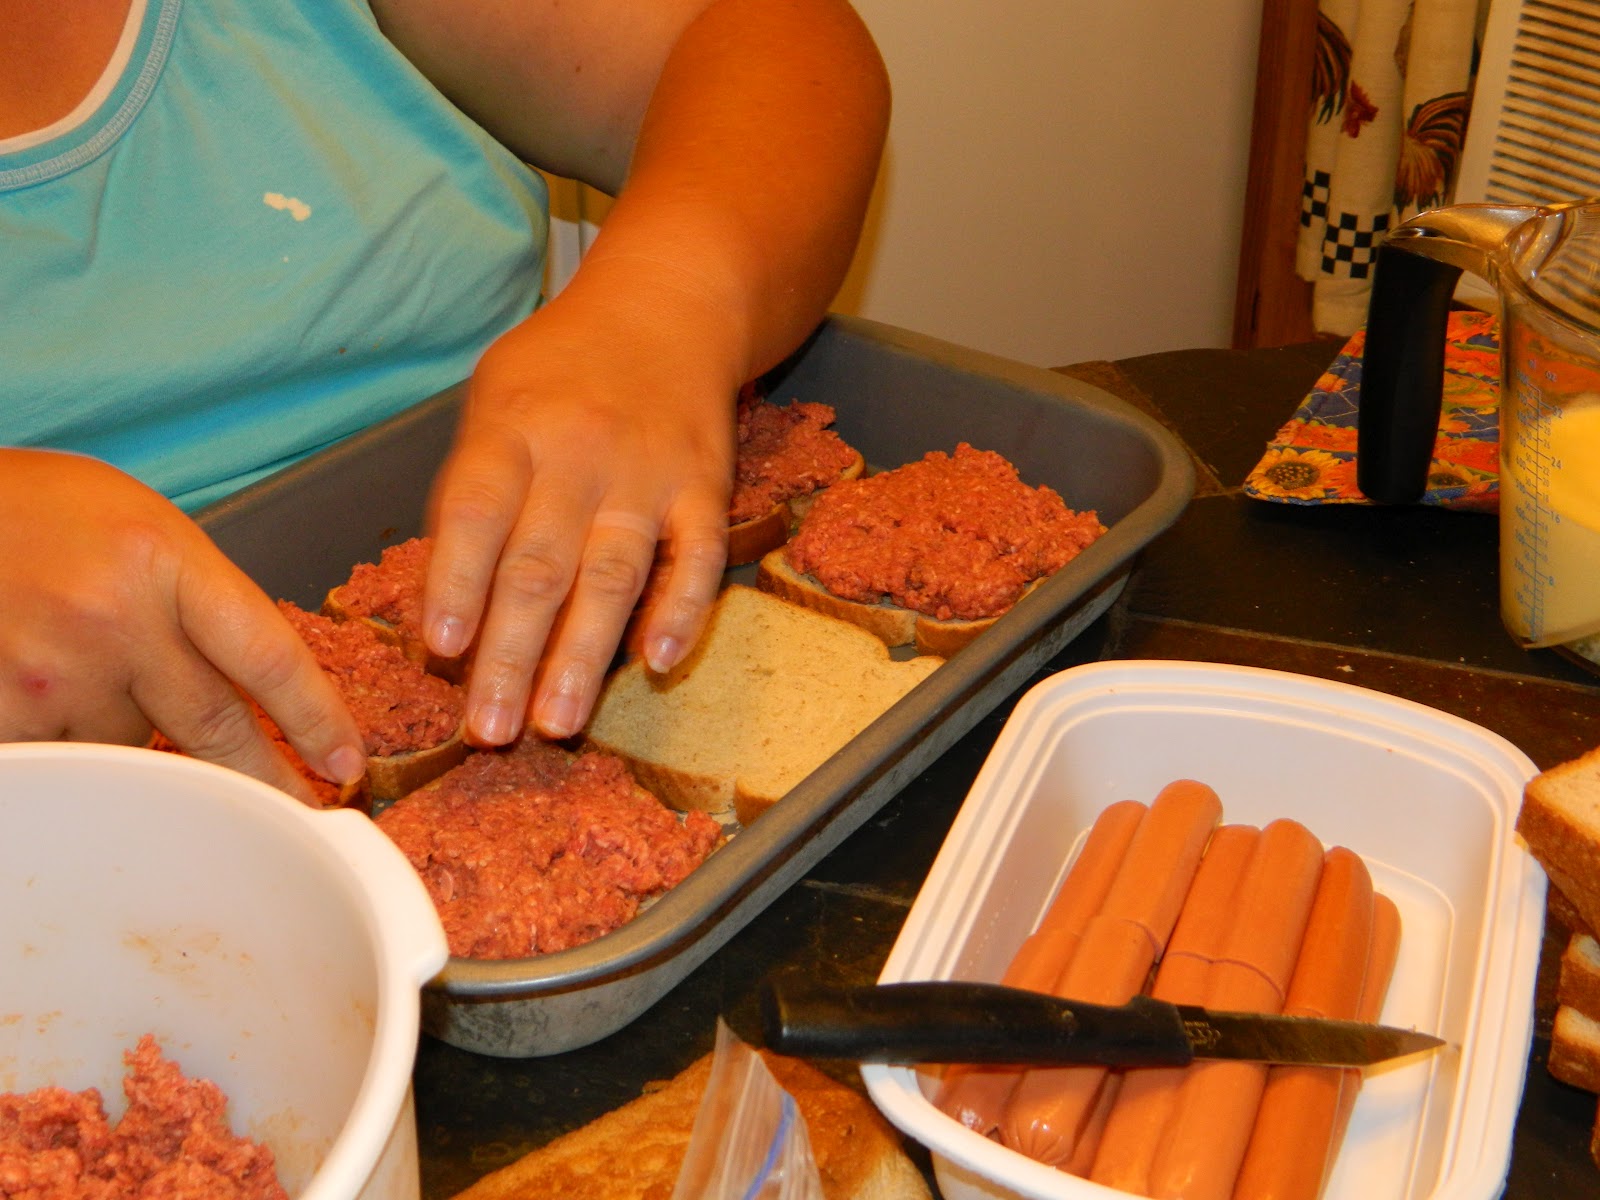
Spread 6 bread slices with butter; arrange in bottom of greased pan (13 x 9 x 2"). Toast in moderate oven 350 degrees about 15 minutes.


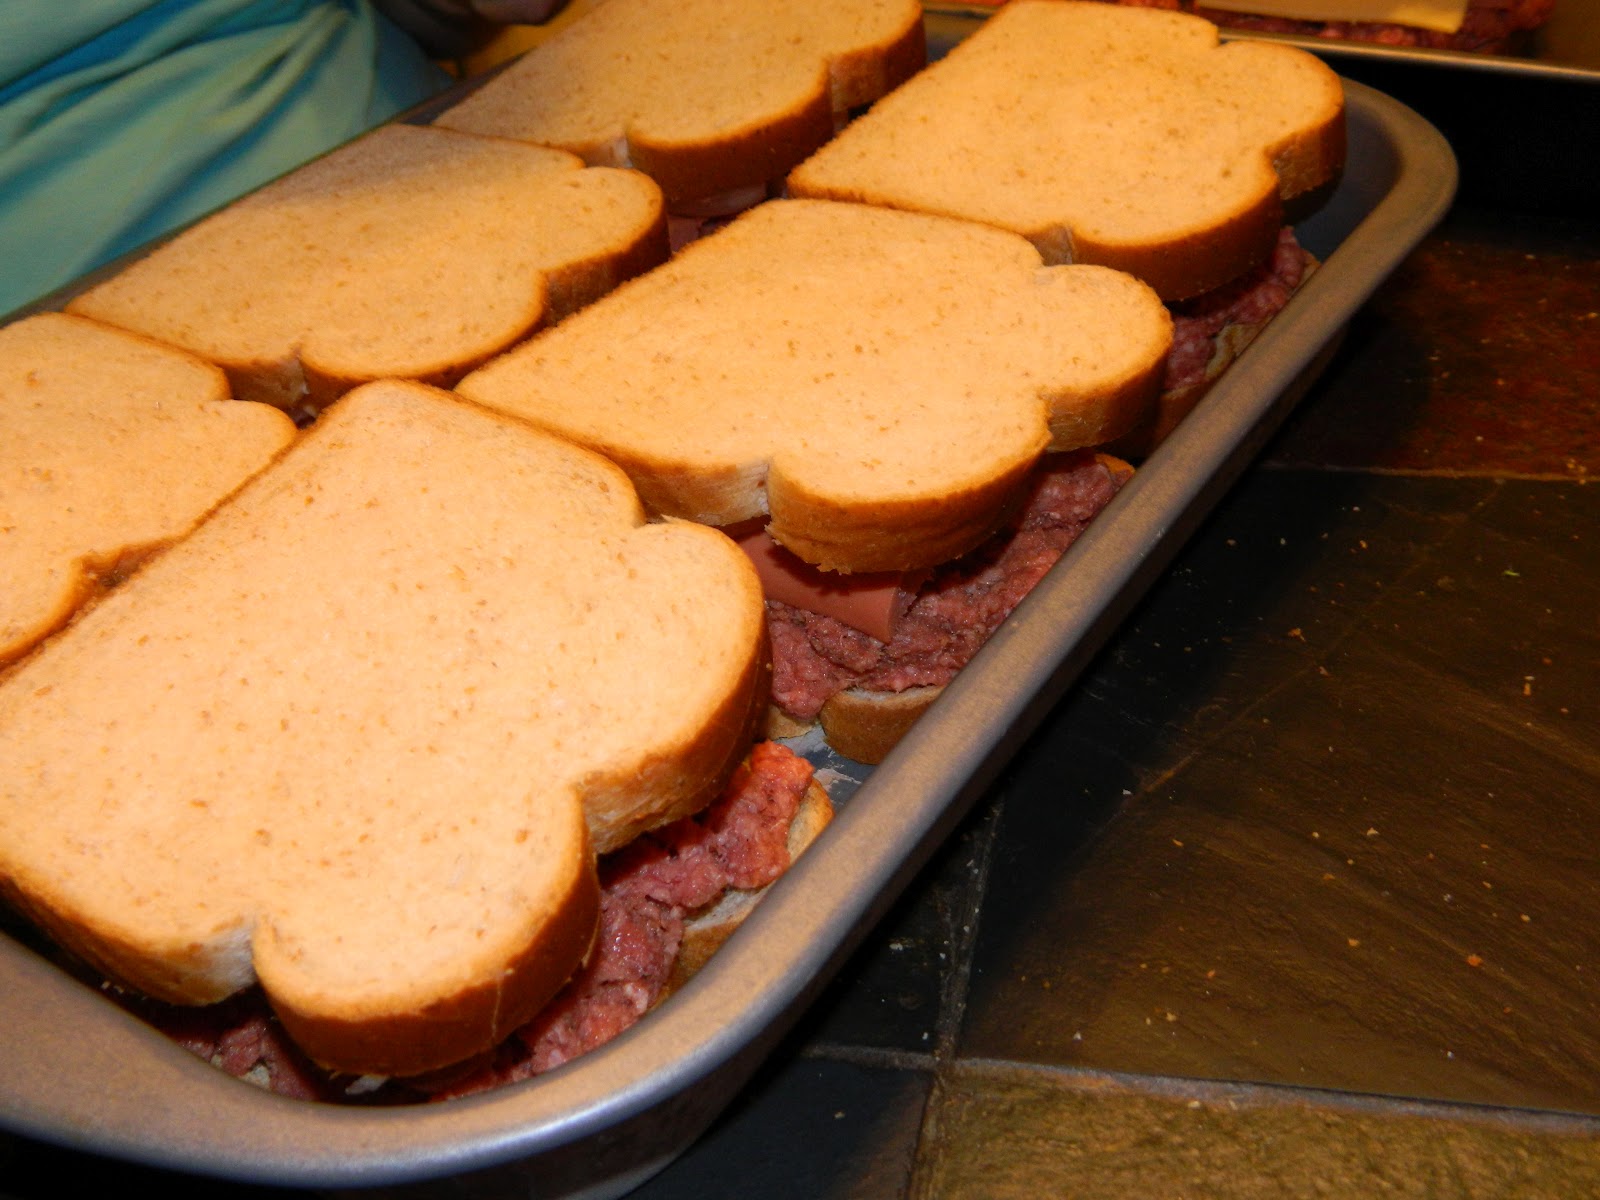
Combine beef, ketchup and salt; spread over toast (1/3 cup per sandwhich). Top with frankfurters, cut almost in half lengthwise, onion and cheese slices. Cover with remaining bread slices.

Combine eggs and milk; pour over bread.

Bake in moderate oven (350 degrees) about 50 minutes. Makes 6 servings

Recipe from Busy Woman's Cookbook by the Food Editors of Farm Journal copyright 1971.  I recently recieved this cookbook from my Granny it was one of hers.Pin It