Friday, October 5, 2012

Canning: Chuckwagon Chili

I don't know if many of you know but I've been canning for years and years with mom and granny. But, it wasn't till 7 years ago that I started canning on my own with a long break in between canning with family as I had moved away from home and started a life of my own. It wasn't till I moved back closer to my roots that I began raising a garden and gaining the much needed equipment needed to can. So anyhow, for the past six years its been strictly the basics vegetables, juices and some sauces like spaghetti and salsa.

This year I did my research, I have consulted youtube videos, my BBB (Ball Blue Book) and friends I have made on several FB groups. That I finally decided its time for meals in a jar such as chili. This will certainly give me a leg up on my DH's lunches, snow days with the kids and a quick meal if we need it on those busy nights.

Here we go!

Chuckwagon Chili
Makes 8 Quarts

6 cups dried beans – (2 cups each of Red kidney beans, pinto beans and small red beans)
11 cups water
7 tsp. kosher salt divided (4 tsp. for salting beans when they cook and 3 tsp. salt for chili)
5 lbs. of ground beef
3 cups onion, chopped
2 cups red bell peppers, chopped
6 tbs. chili powder
2 tbs. cumin
2 tsp. black pepper
3 tsp. garlic, minced
2 tsp. oregano
2 tsp. cayenne pepper
2 tsp. coriander (optional)
1 tsp. crushed red pepper
2 quarts tomato juice
24 oz. of Salsa (Your favorite will do)
29 oz. tomato sauce
16 oz. beef stock
Washed beans

Wash beans thoroughly and put them in a large pot. Add cold water to a level of 2 to 3 inches above the beans and soak for 12 to 18 hours. Drain and discard water.
Soaked beans
Combine beans with 11 cups of fresh water and 4 tsp. kosher salt. Bring to a boil, reduce and cook for 30 minutes.

Meanwhile, brown ground beef, onions and peppers in a large skillet.
Drain off fat by spooning in a large colander in the sink. Shake out the excess fat. (The next two photos are of everything that went into the chili)
Everything that went into the chili

Pour meat into large pot and add 3 tsp. salt, pepper, chili powder, cumin, garlic, oregano, cayenne pepper, coriander, crushed red pepper, tomato juice, salsa, tomato sauce, and beef stock. Drain beans after 30 minutes and add to meat mixture. Simmer chili for 45 minutes or until desired doness.

Using sterilized jars fill leaving 1 inch head space.


Remove air bubbles and adjust head space if needed. Wipe rims of jars with dampened clean paper towel.

Process at 10 lbs. of pressure 75 minutes for pints or 90 minutes for quarts.
Chuckwagon chili
This is how it looks after it cooled, the next day.
Happy Canning!
~ FarmgirlPin It

Thursday, October 4, 2012

Hickory Smoked Salt

It has come to my attention that not everyone can find hickory smoked salt at the grocery store. I posted the recipe for my Ham and Bean Soup two days ago that has it as one of the ingredients and some have been asking about hickory smoked salt where to find it. So if you can't find any or just want to make it yourself here is my how to.

Hickory Smoke Salt
makes 1/2 cup 

1/2 cup sea salt (iodine free)
1 tablespoon of liquid smoke


Only ingredients you will need.

Mix salt and liquid smoke together. Add more sea salt or liquid smoke to resemble a wet brown sugar mixture.

 
Spread mixture out over a cookie sheet.

Allow to dry at room temperature or on a lowest setting in the oven. 150 degrees is the lowest setting for my oven. It only took about 30 minutes to dry.
Stir and rub salt mixture between fingers to break up often. If made on the aluminum foil you can just pull it up and sort of crumble it. Works great.
Room temperature salt is ready by the next day. Salt dried in the oven is ready in a few hours.
Store in an air tight container.
Final product Hickory smoked salt

Note: I only had course sea salt on hand. Which I used and I'm going to put it in the sea salt grinder which is in the picture. Remember you can make as much or as little of this that you like. The measurements I used can be reduced or doubled easily.

~ Farmgirl


Pin It

Tuesday, October 2, 2012

Budget: Tavern Ham

Budget: Tavern Ham

Recently I was at the grocery store and noticed that they had tavern hams on sale for $2.48 a pound. Pretty good price for around here. While pondering what all I could make of this ham the recipes were screaming at me. So I scooped one up and brought it home. When home this is when the real work begins.
 
This tavern ham weights 15.66 lbs @ $2.48 per lb for a total of $38.84. No food tax in the state of Ohio where I purchased it at.


I decided to slice up most of it. I had to borrow the slicer from my mother-in-law, as I don't have one of my own yet.
 
Because this slicer is smaller approx a 7.5 inch blade. I had to cut the ham into sections for easier sliceing.
 
Then it was time to run it on the slicer. I wish that I had someone here helping me to take pictures. But, I was on my own! Why does this not surprise me? Anyhow, this is most of the ham.


Make sure that you have plenty of freezer safe bags. A good sharpie to date your packages. This is how I divided mine up. 

 
What I got was 9 quart bags of sliced ham, 3 quart bags of chopped ham, 1 plate of scraps for the animals and 1 bowl for soup. You can obviously divide it up in many different ways. I should have kept a small section ham for baking it would of been good but I forgot to do that.
 
The kitties with their snack.
With the ham in the bowl I decided to turn it into soup. Which I canned. You can find that recipe posted yesterday.
7 quarts of Ham and bean soup made with great northern beans
 
7 more quarts of Ham and bean soup made with navy beans
 
So how does this play out for budgeting do you ask? Well 27 full meals from a 15.66 lb ham for a total cost per meal of $1.43. Now that's savings!  
 
If you purchase a ham let me know how you divide yours up for a savings. I'll be posting more budget meals that I use the ham in in the near future.
 
~ Farmgirl

Pin It

Monday, October 1, 2012

Canning Navy Bean and Ham Soup

I'm still stocking my shelves for winter. I want some easy soups for my husbands lunches or a quick meal when we are running on borrowed time. I have finally figured out a way to successfully can bean soup without everything turning to mush. Thanks to a simple recipe of "Ben's Beans."

Here's my recipe:

Navy Bean Soup
2 lbs dry navy beans, rinsed
half of small onion diced
1-2 medium carrots diced
1 stalk of celery diced
1 cup of diced ham
chicken bouillon, powder
hickory smoked salt
water
7 quart jars, lids and rings

I prep my jars first by washing them and get my lids and rings in hot water. After this I cut up my vegetables and ham. Lastly, I sort my beans, wash with cold water and let drain well.

Then in no particular order I add the following in each quart jar:
3/4 cup dry navy beans (do not soak beans), rinsed
1 Tbsp onion, diced
3 Tbsp chopped ham
1 Tbsp carrot, diced
1 Tbsp celery, diced
1/4 tsp hickory smoked salt (any seasoned or plain salt will work or omit)
2 tsp chicken bouillon, powder


After this I add water to fill to the 1 inch head space. Wipe rim of jar with clean cloth. Affix lid and ring and place in pressure canner.

Process for 90 minutes at 10 lbs of pressure.
The beans in these jars are great northern beans. Any kind of beans will do.


If you choose to reduce to pints you would need to reduce everything by half and process 75 minutes at 10 lbs pressure.

If you make ham and bean soup let me know of any changes you made to the recipe. It's always nice having several different versions of bean soup.

~ Farm girl


Pin It

Thursday, September 13, 2012

I've been MIA

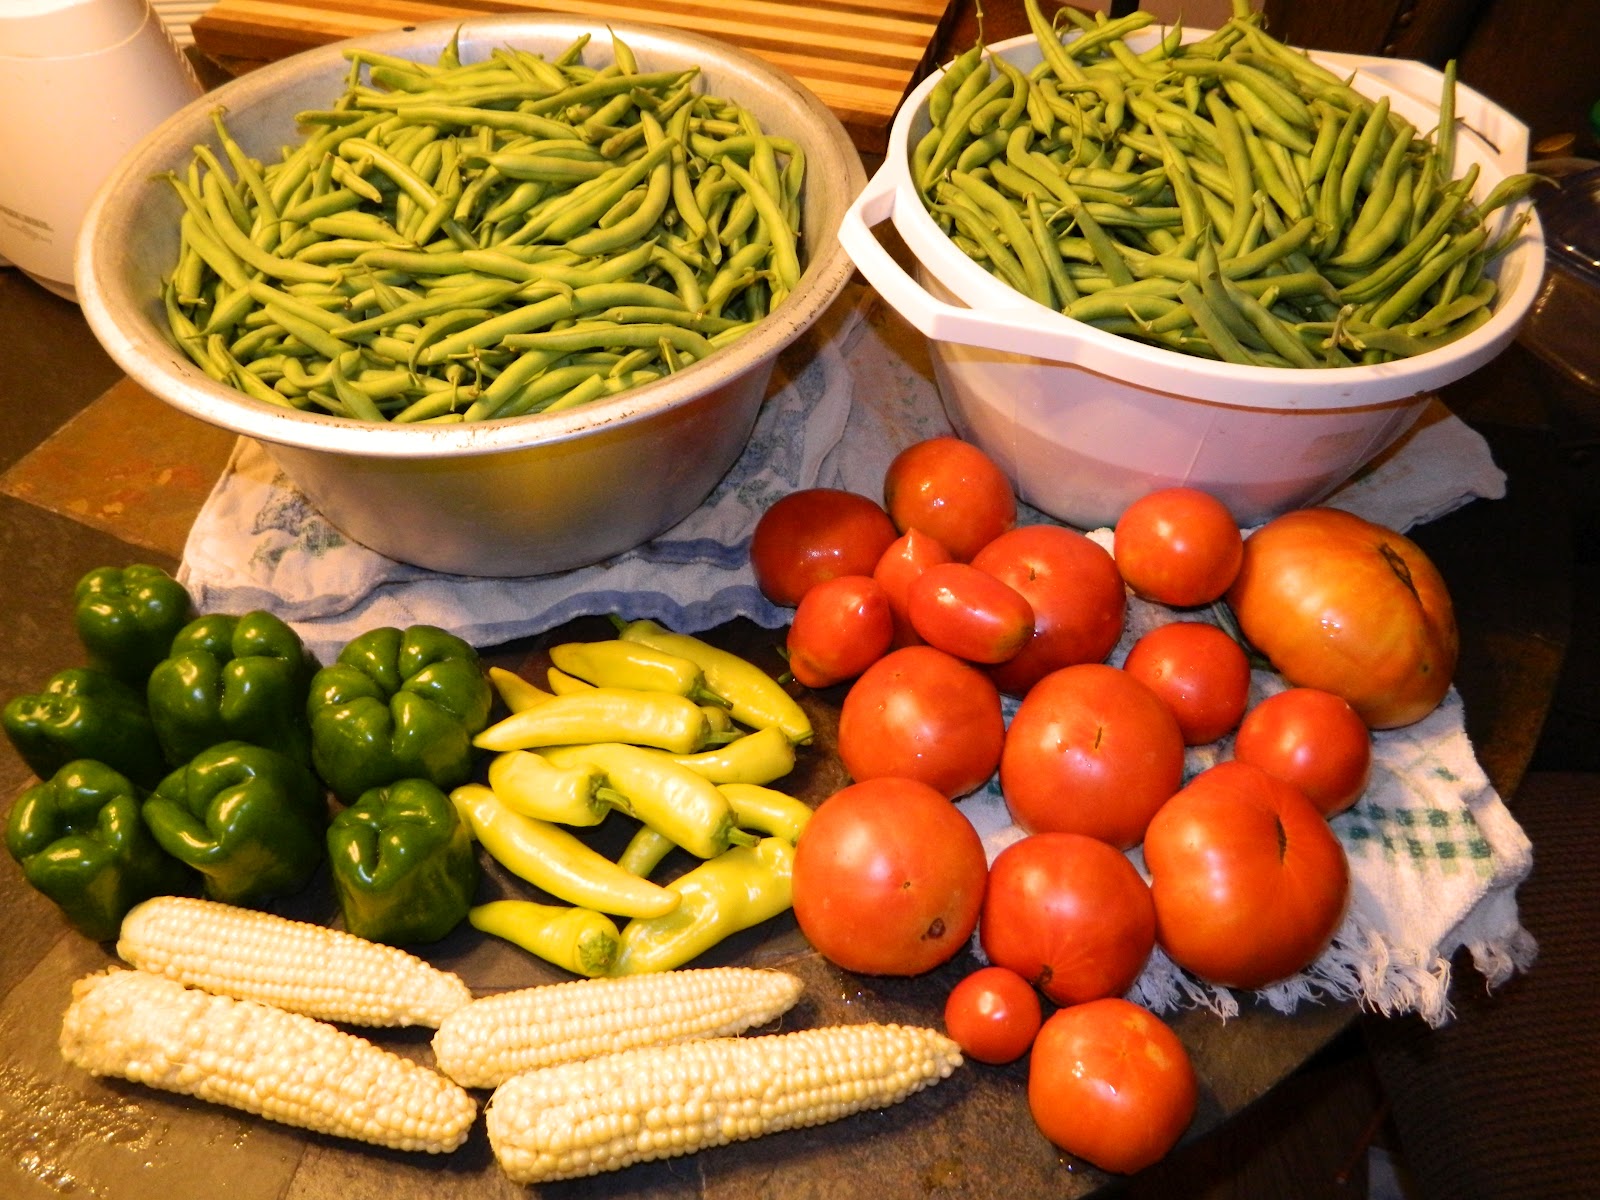
To make a long story short I've been gone from the blog for sometime now because my garden came on strong and it's taken everything I got to keep up with it. A few times I got so covered up in vegetables I thought I was going to loose my mind. I also took on an adventure of trying to teach someone else how to can. I think it was a success. We've canned green beans and beef stew for them.

Things are starting to slow down in the garden so I'll be around more often.  I will leave you with a few pictures from the past few weeks.


Scored free apples.

Peas

One of 4 cabinets with the summers bounty.


Jam which was an experiment that turned out fabulous!

Crissy she wanted to learn so I put her to work!


Another bushel when will they stop producing?
Myself and some of this summers bounty. Much more behind me.

Well if you come to my house and leave hungry its your own fault. I have a little of this and a little of that! Hope all you canners out there was just as lucky as I have been. I'm not even close to finished but it sure is slowing down and I'm very thankful for that.

~ Farmgirl

Pin It