Friday, June 15, 2012
Steak Pot Pie
Steak Pot Pie
1 cup chopped onion
2 tablespoons margarine
3 tablespoons all-purpose flour
1 1/2 cups beef broth
1/2 cup A.1. Steak Sauce
3 cups cubed cooked steak (about 1 1/2 pounds)
1 (16 ounce) package of frozen broccoli, cauliflower and carrot mixture
Prepared pastry for 1-crust pie
1 egg, beaten
In 2 quart sauce pan, over medium high heat, cook onion in margarine until tender. Blend in flour; cook 1 minute more. Add broth and steak sauce; cook and stir until mixture thickens and begins to boil. Stir in steak and vegetables. Spoon mixture into 8inch square glass baking dish. Roll out and cut pastry crust to fit over dish. Seal crust to edge of dish; brush with egg. Slit top to vent. Bake at 400 degrees 25 minutes or until crust is golden brown. Serve immediately. Garnish as desired.
~ Notes: I cooked the meat in a pressure pot to make meat tender. Cooked 25 minutes. Vegetables: celery, broccoli, cauliflower and carrots were fresh not frozen. Lastly pie crust was homemade. I doubled crust and vegetables and made a little extra sauce to fill a 13x9x2 inch baking dish.
Makes 4 servings
Recipe from A.1. Steak Sauce Sizzling Favorites (Favorite Brand Name Recipes) July 1996Pin It
Tuesday, June 12, 2012
Hamburger - Frankfurter Bake
12 slices of bread
Butter or margarine
1 lb. LEAN ground beef
1/4 cup ketchup
1 tsp. salt
6 frankfurters
2 medium onions sliced
6 slices process American Cheese
2 eggs, beaten
1 cup milk
Spread 6 bread slices with butter; arrange in bottom of greased pan (13 x 9 x 2"). Toast in moderate oven 350 degrees about 15 minutes.


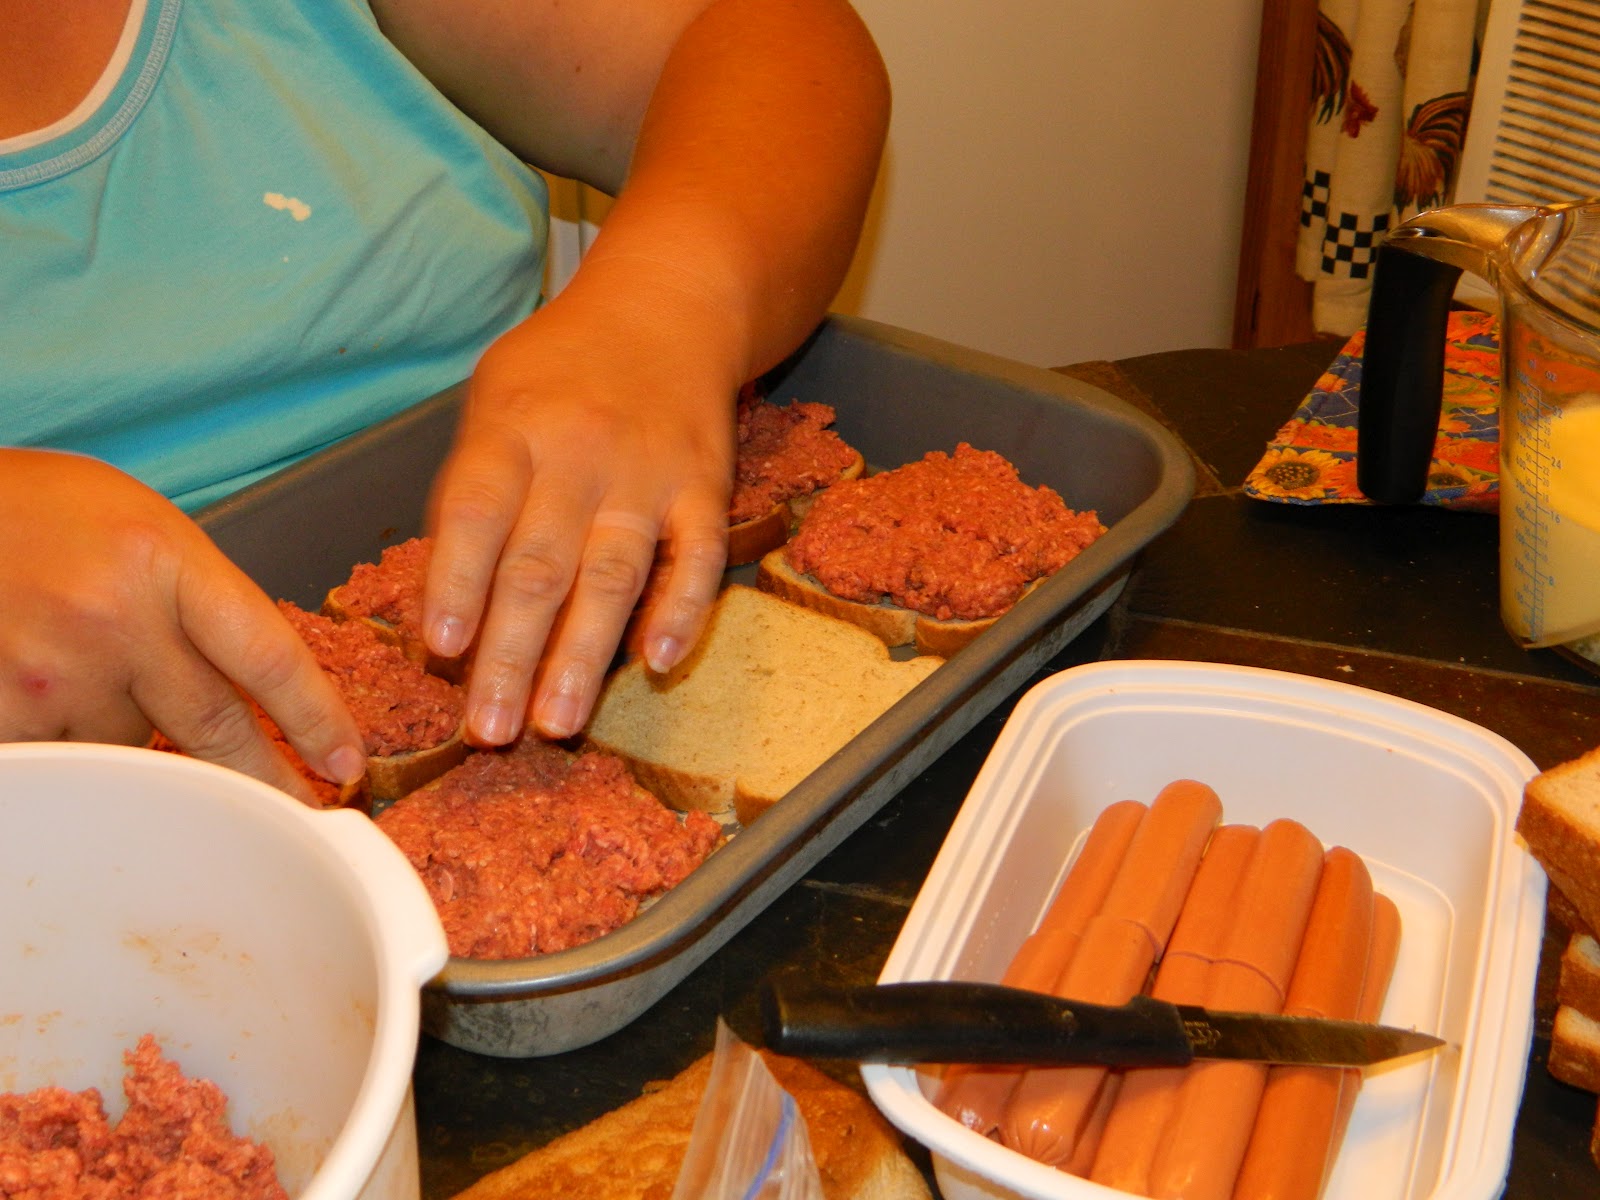
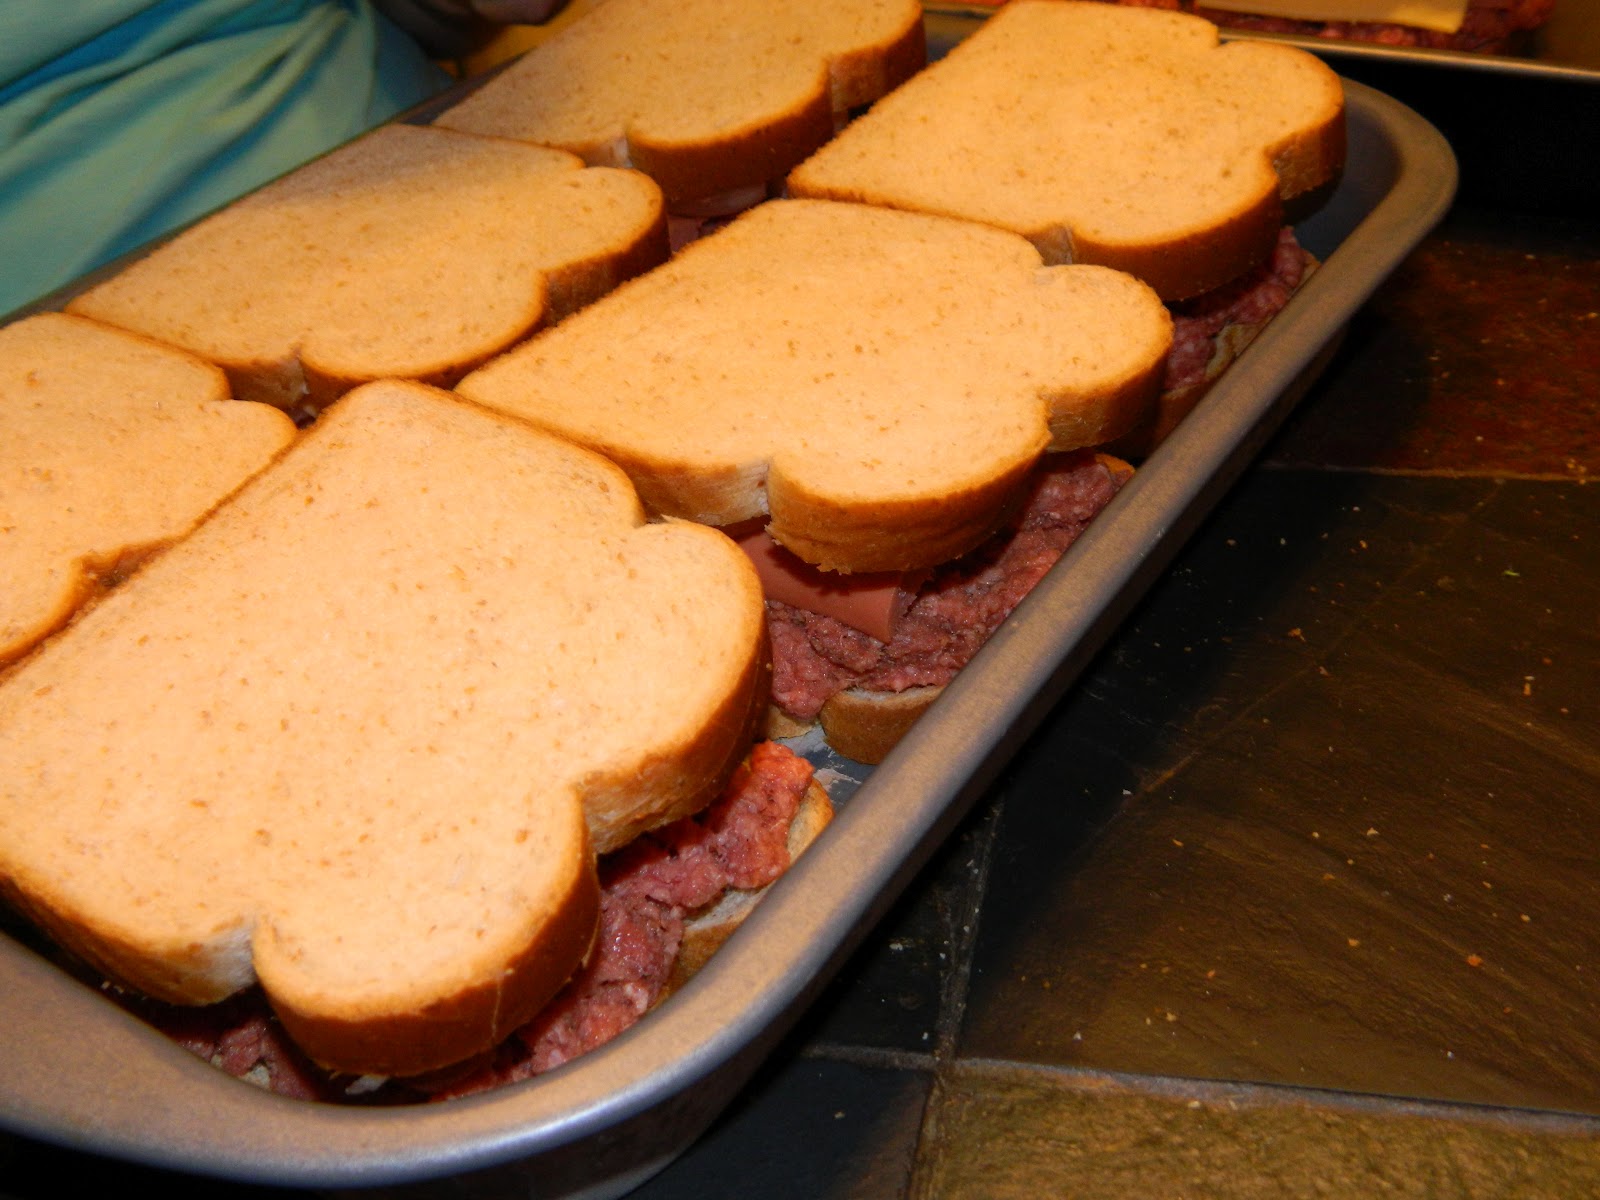
Combine beef, ketchup and salt; spread over toast (1/3 cup per sandwhich). Top with frankfurters, cut almost in half lengthwise, onion and cheese slices. Cover with remaining bread slices.
Combine eggs and milk; pour over bread.
Bake in moderate oven (350 degrees) about 50 minutes. Makes 6 servings
Recipe from Busy Woman's Cookbook by the Food Editors of Farm Journal copyright 1971. I recently recieved this cookbook from my Granny it was one of hers.Pin It
12 slices of bread
Butter or margarine
1 lb. LEAN ground beef
1/4 cup ketchup
1 tsp. salt
6 frankfurters
2 medium onions sliced
6 slices process American Cheese
2 eggs, beaten
1 cup milk
Spread 6 bread slices with butter; arrange in bottom of greased pan (13 x 9 x 2"). Toast in moderate oven 350 degrees about 15 minutes.
Combine beef, ketchup and salt; spread over toast (1/3 cup per sandwhich). Top with frankfurters, cut almost in half lengthwise, onion and cheese slices. Cover with remaining bread slices.
Combine eggs and milk; pour over bread.
Bake in moderate oven (350 degrees) about 50 minutes. Makes 6 servings
Recipe from Busy Woman's Cookbook by the Food Editors of Farm Journal copyright 1971. I recently recieved this cookbook from my Granny it was one of hers.Pin It
Saturday, June 9, 2012
Rabbitry News - Speckles
A lil over 9 days ago Speckles gave birth to 9 lil ones. We bred her to a rex/new zealand red (Reese). Speckles is a broken new zealand white. I wasn't sure how she was going to do since her last litter at her previous owners was born on the wire and they all died. She is doing an excellent job now with her new litter.
| Morning they were born. |
| Six days old. |
We got one solid black and the rest are broken. The light orange color is so pretty on them. More pictures to come in the future. I do believe she will be the one I breed for our "Easter" bunnies next year.
Hoppy Farming Everyone!
~ Farmgirl
Friday, June 8, 2012
Rabbitry News - Bucks Moving Day (picture heavy)
We've been housing our bucks beside our home and on very hot days the urine smell was just getting to be too much. Because we entertain a lot outdoors I decided to move the bucks over by the does.
Now I've heard that you must keep them in separate areas but after going to many different rabbitries to get new rabbits and seeing their set ups I decided that its okay to put them near each other. Everywhere we have been has them all group together just in separate cages. So putting them together didn't seem to cause any problems breeding or birthing. Were going to try it out for a while.
Here's my before pictures:
| Buck cages #1 and #2 |
| Doe and baby cages #1-10 Revamped no longer 10 cages. Right now its 7. Taking the dividers out because they are not big enough for the larger rabbits. |
| Does cages #11 - 13 |
We had all the bucks by the house and the does were over across the creek partially shaded by the trees. It only makes sense to move them all together. So here's the big moving day.
| So much easier to load them on the truck one by one |
| Manual labor but we got it done. |
| Back wall so to speak are the buck cages. Put them in an L shape. |
| We had that tall cage empty and because of its odd size I decided to make it a weaning cage. It now houses 7 of Jinny's babies. |
| Another look at the cages. Only thing we moved around are the tables. They now sit in the middle together not just thrown out there. |
I like that they are all together so it makes feeding and watering very easy and with the tables together makes a great work station. I have a few more things I want to do before we are finished that I'll get done soon. Plus we are building two more hutches very soon for our does. We are going to use the wire cages as weaning cages in the future.
More updates in the near future as we expand and make our area pleasant to look at.
~ Farmgirl
Monday, May 14, 2012
Gardening & Recycling all-in-one
I've been searching for great gardening ideas, trying to maximize my space and recycle where I can. So I came across some neat ideas and as I gain the items that I need I have been implementing them in my landscape and gardening experience.
I've searched most of the morning, trying to figure out where I found this idea and finally this afternoon I found it. Click Here if you wish to see it where I saw it. I really think I saw it on Pinterest but for the life of me can't find it there.
Hanging Herb Garden using Recycled Soda Bottles
Pin It
I've searched most of the morning, trying to figure out where I found this idea and finally this afternoon I found it. Click Here if you wish to see it where I saw it. I really think I saw it on Pinterest but for the life of me can't find it there.
Hanging Herb Garden using Recycled Soda Bottles
| My beginning attempt |
The only items you need are:
2 liter pop bottles
Sharp knife
Scissors
Twine (baler or poultry string)
Soil
Seeds
Basically, you just cut a hole in the top starting it with a knife then finishing it with scissors. On the bottom I cut a few small slits to let excess water drain out.
To hang it I took the sharp tip of the knife and made a circular hole to poke the twine through and tied enough knots to make it big enough so it wouldn't pull through under the weight of the soil and water. I did the same thing to hang the second bottle to the top bottle. On the small neck part I just tied the string around the small area instead of worrying about cutting a hole.
Fill with soil, add seeds of choice and water.
Hang where ever you have space. For now mine is hanging on the outside light of the front door. I will move it when I find a wall or put up privacy fence. I plan on adding more bottles as I get them.
If you would like to make it look nice you could paint them. I just may do that later also if I find time.
Happy Herb Gardening
~ Farm Girl
Subscribe to:
Posts (Atom)